
Installing Profiles in Adobe Camera Raw and Lightroom
Profiles allow you to apply color grading with a single click while keeping complete control over the rest of your editing process.
Method 1
Importing Profiles
- Open any photo in Adobe Camera Raw or Lightroom Classic.
- Open the Profiles panel.
- Click the ⋯ menu (three dots) in the top-right corner.
- Select Import Profiles and Presets.
- Select the folder or ZIP archive containing the IGN LUT PACK profiles.
- If necessary, restart Photoshop or Lightroom.
Once installed, the profiles will appear in the Profiles section and will be ready to use.
Method 2
Manual Installation
If you prefer to install the profiles manually, simply copy the.xmp files to the Camera Raw folder.
Windows
C:\ProgramData\Adobe\CameraRaw\Settings
macOS
/Library/Application Support/Adobe/CameraRaw/Settings
After copying the files, restart Photoshop or ightroom.

How to Use the Profiles
- Open your photo.
- Go to the Profiles section.
- Select any profile from IGN LUT PACK.
- If necessary, adjust the effect intensity using the Amount slider.
- Continue editing your photo as usual.
Unlike presets, profiles do not change exposure, contrast, white balance, or other editing settings. They simply provide a color foundation, allowing you to continue editing the image freely.
Using LUT Files in Photoshop
In addition to profiles, the pack includes classic .CUBE LUT files that can be used in Photoshop.
Step 1
Open your photo.
Step 2
Create an adjustment layer:
Layer → New Adjustment Layer → Color Lookup
Step 3
In the 3DLUT File section, click Load 3D LUT… and select the desired LUT from the pack.
The LUT will be applied instantly.
See the video below.

Installing LUTs Permanently in Photoshop
If you don’t want to manually load a LUT every time using the Load 3D LUT… button, you can install them directly into Photoshop.
After installation, all LUTs will permanently appear in the 3DLUT File list alongside Photoshop’s built-in LUTs.
Windows
Copy all .CUBE files to:
C:\Program Files\Adobe\Adobe Photoshop [Your Version]\Presets\3DLUTs
For example:
C:\Program Files\Adobe\Adobe Photoshop 2025\Presets\3DLUTs
macOS
Copy the LUT files to:
/Applications/Adobe Photoshop [Your Version]/Presets/3DLUTs
For example:
/Applications/Adobe Photoshop 2025/Presets/3DLUTs
Final Step
After copying the files, completely restart Photoshop.
Now open:
Layer → New Adjustment Layer → Color Lookup
In the 3DLUT File dropdown, you’ll see all the LUTs from IGN LUT PACK, without having to load them manually each time.
💡 Tip: For convenience, it is recommended to keep the original LUT filenames. If you want to rename the files, do so before copying them to the Photoshop folder.
Adjusting the Effect Intensity
Maximum intensity does not always produce the best result. The easiest way to make a color grade look more natural is to reduce the Opacity of the adjustment layer.
In many cases, an opacity of 40–80% looks significantly better than applying the LUT at 100%.
Combining Multiple LUTs
One of the main advantages of Photoshop is the ability to use multiple LUTs at the same time.
Create several Color Lookup adjustment layers and load different LUTs into each one.
For example:
- LUT #1 — primary color grade
- LUT #2 — cinematic contrast
- LUT #3 — subtle film effect
You can adjust the opacity of each layer independently to create your own unique color combination.
This is a common approach to professional color grading.
Use Blending Modes
The Color Lookup adjustment layer supports all standard Photoshop blending modes.
Try different options:
- Normal — full LUT effect.
- Soft Light — softer contrast and saturation.
- Overlay — a more pronounced and contrasty result.
- Color — changes only the color while preserving the brightness of the original image.
- Luminosity — affects only the brightness of the image.
Combining blending modes with reduced opacity allows you to achieve a wide range of interesting results.
Use Masks
Every adjustment layer has its own mask. This allows you to apply a LUT only to specific areas of the image.
For example, you can:
- apply color only to the background;
- preserve natural skin tones;
- grade the sky separately;
- enhance the atmosphere only in the shadows.
Masks greatly expand the possibilities of color grading.
Create Your Own Style
Don’t be afraid to experiment.
Most professional color looks are not created with a single LUT, but through a combination of several subtle adjustments.
Recommended workflow:
- Apply a profile or LUT from IGN LUT PACK.
- Adjust the effect intensity.
- Try different blending modes.
- Fine-tune exposure and white balance.
- Adjust the curves if necessary.
- Finish the image using HSL, local masks, and other editing tools.
This approach allows you to achieve a beautiful result quickly while still maintaining your own creative style.
What’s Included
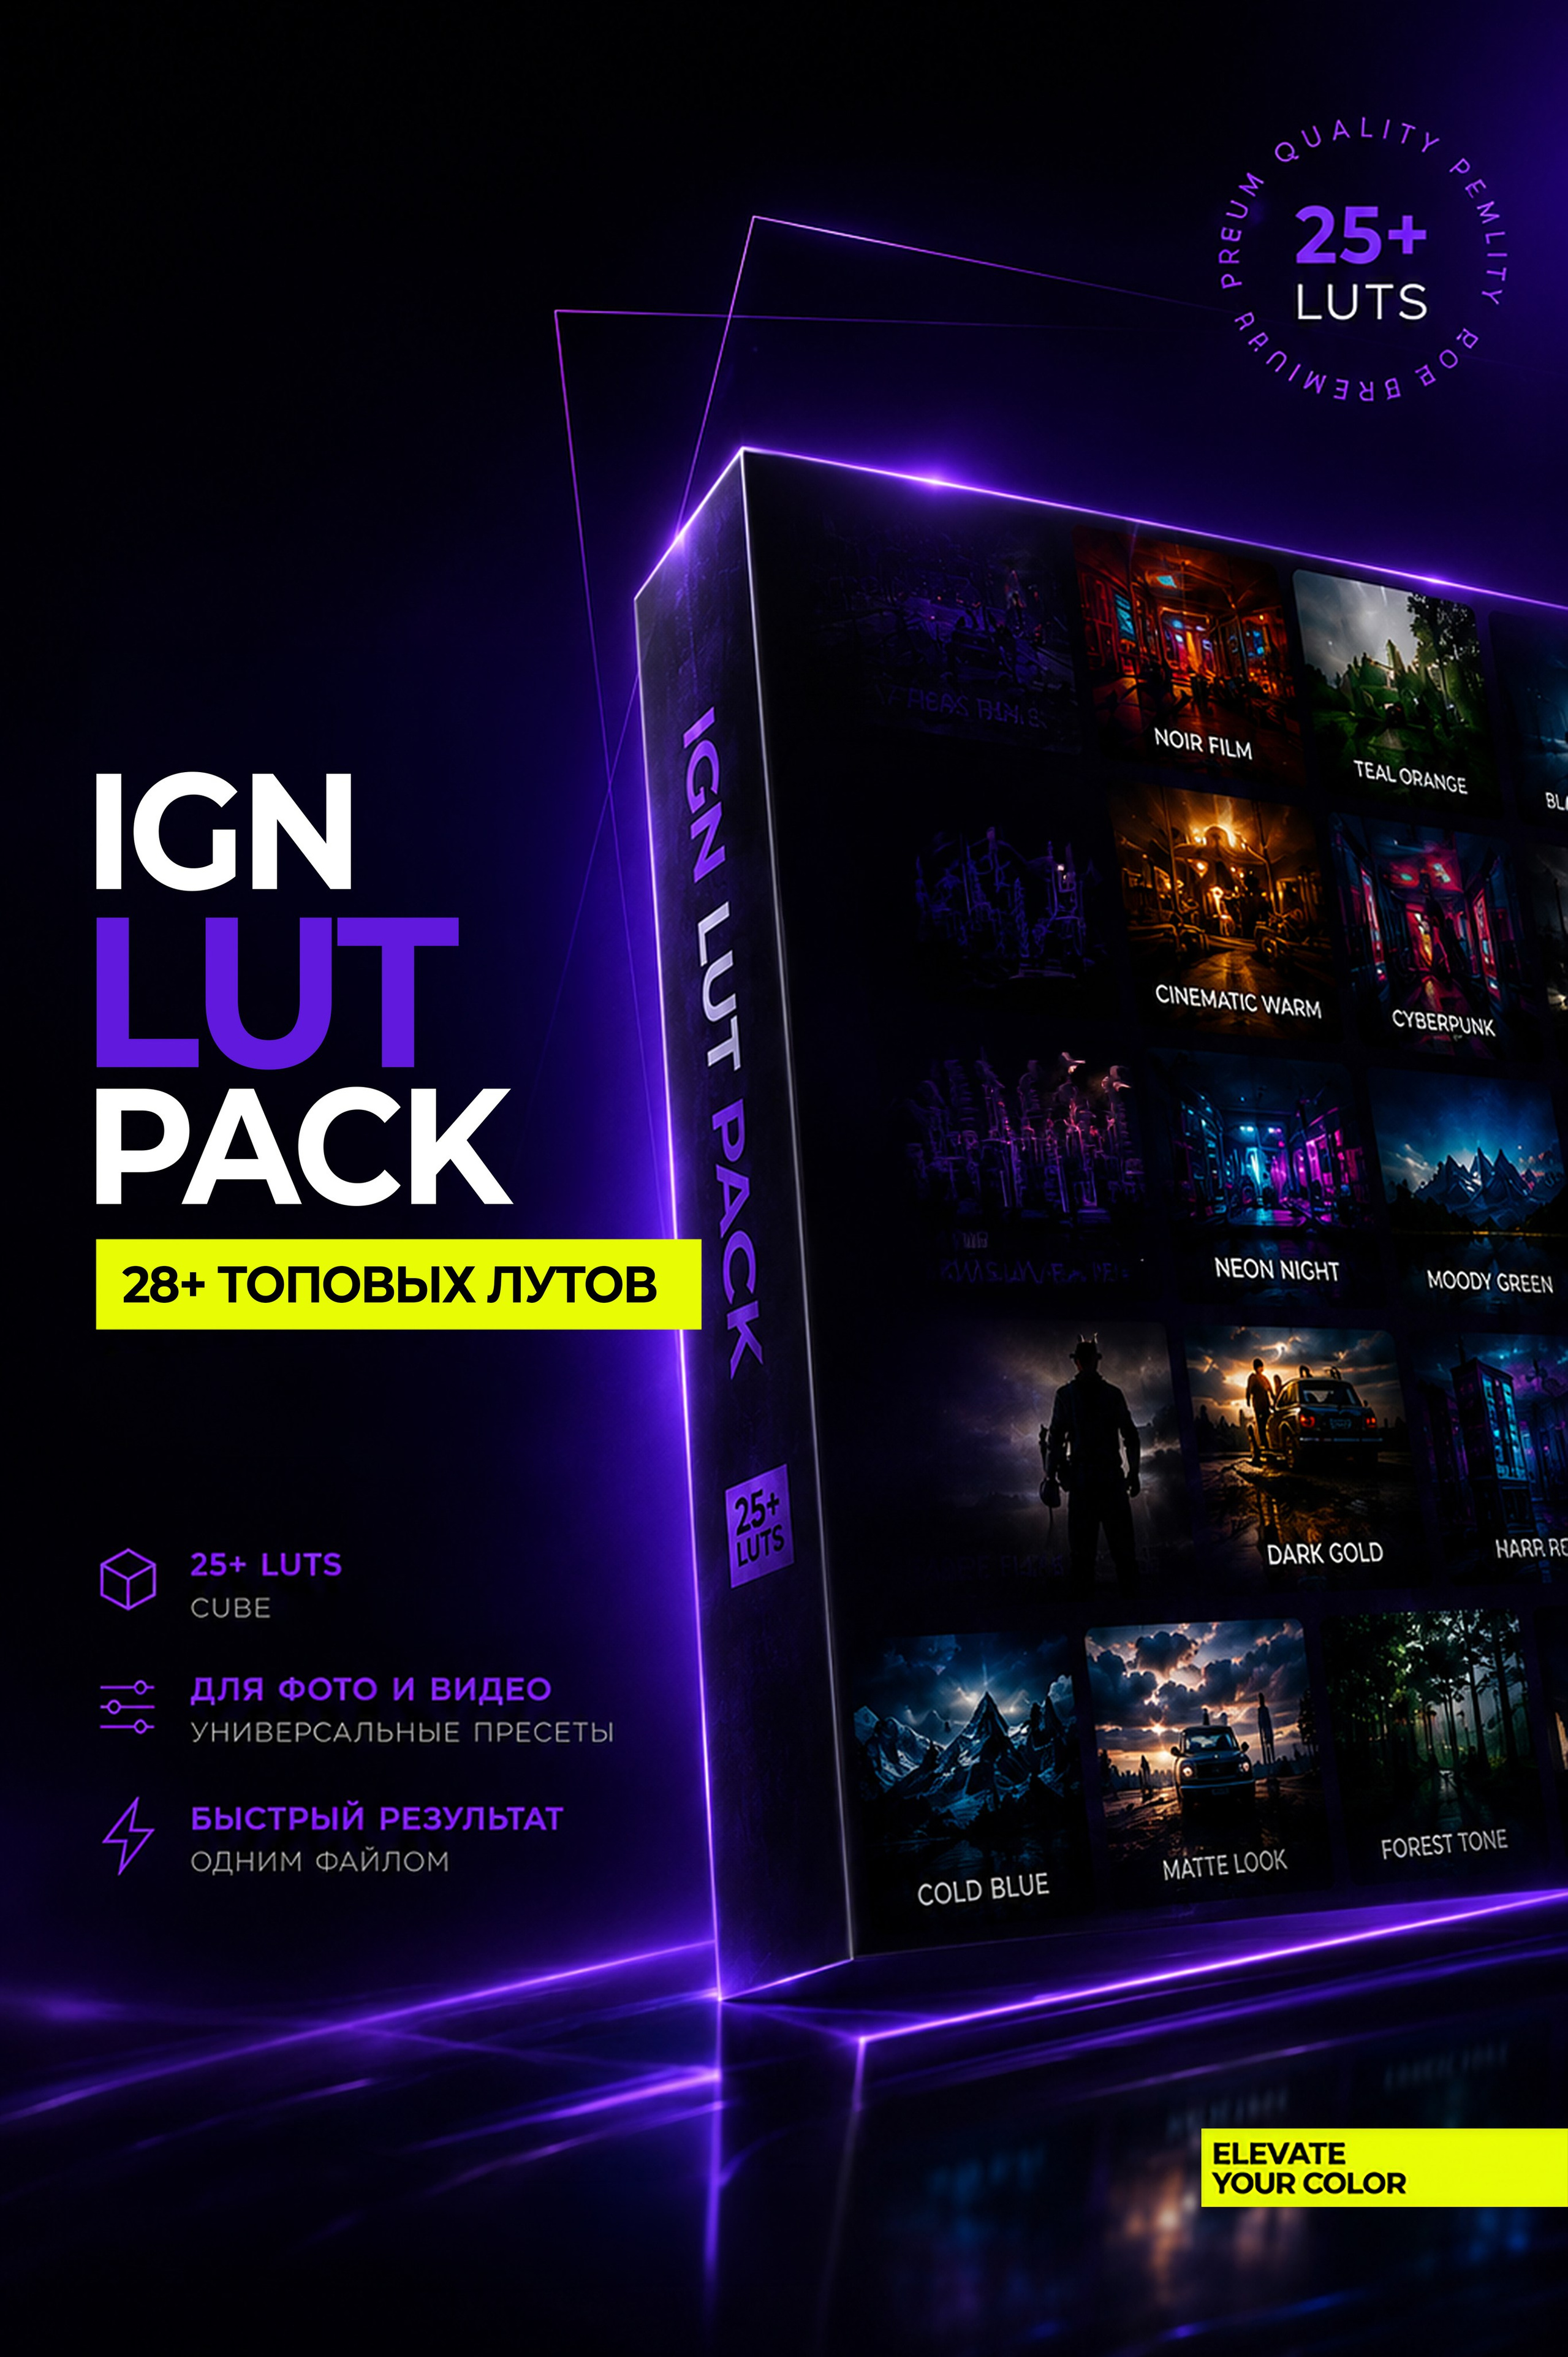
- 25+ Premium LUTs
- .CUBE format
- High-quality files
- Instant download after purchase
- Free lifetime updates
Why Choose This Pack?
- 25+ ready-to-use LUTs for a wide range of shooting scenarios.
- ⚡ Achieve professional color with a single file.
- 🎨 Perfect for both photography and video.
- 🎥 Cinematic color without complicated grading.
- 👤 Natural and flattering skin tones.
- 🖥 Compatible with most popular editing software.
- 🚀 An excellent starting point for both quick edits and advanced color grading.
For purchases in USD, simply contact me using the button below, and I’ll send you the PayPal payment details.
What Is a LUT? Yes, We’re Talking About It at the Very End :)
LUT stands for Look-Up Table — a color transformation table.
In simple terms, a LUT is a predefined color scheme that instantly changes the colors, contrast, and overall mood of an image.
Imagine you have a photo with ordinary, ungraded colors. After applying a LUT, Photoshop or another editing program essentially transforms each color according to a predefined set of rules.
That means you can instantly achieve:
- cinematic color;
- a warm atmosphere;
- a cool look;
- a film-like effect;
- rich or muted tones.
A LUT does not replace a complete editing process, but it can significantly speed it up and help you establish a beautiful color foundation very quickly.
How Is a LUT Different from a Preset?
Although many people consider them to be the same thing, there is actually a significant difference between LUTs and presets.
LUT
A LUT primarily affects the color of an image. It does not change:
- exposure;
- contrast;
- white balance;
- sharpness;
- noise reduction;
- curves;
- HSL;
- or any other editing settings.
That is why the same LUT can be used in virtually any compatible program:
- Photoshop
- Camera Raw
- Lightroom
- DaVinci Resolve
- Premiere Pro
- Final Cut Pro
- CapCut
- After Effects
- and many others.
This is what makes LUTs such a universal format.
Preset
A preset is a complete collection of editing settings. It can simultaneously change:
- exposure;
- contrast;
- white balance;
- saturation;
- curves;
- HSL;
- detail;
- noise reduction;
- vignetting;
- grain;
- color profile;
- and dozens of other parameters.
Essentially, a preset automatically reproduces a sequence of adjustments that a photographer would otherwise make manually.
Which One Is Better?
There is no single correct answer — it depends on what you need.
A LUT is a better choice when you want:
- fast and versatile color grading;
- compatibility with both photography and video;
- consistent results across different programs;
- the ability to adjust all other parameters yourself.
A preset is a better choice when you want to get as close as possible to a finished edit as quickly as possible, especially when your photos were taken under similar conditions.
Why Does IGN LUT PACK Include Both LUTs and Profiles?
The pack includes:
LUTs (.CUBE) — for Photoshop, DaVinci Resolve, Premiere Pro, Final Cut Pro, CapCut, and other compatible software.
Profiles (.XMP) — for Adobe Camera Raw and Lightroom.
Both versions create the same color foundation, but allow you to work as conveniently as possible depending on the software you use.
💡 Tip: Don’t think of a LUT as a “magic button.”
The best results are achieved when a LUT is used as a starting point. After applying it, make a few subtle adjustments to exposure, white balance, contrast, and saturation.
Even 2–3 small adjustments can make the final result look much more natural and professional.
I Wish You Inspiration and Beautiful Images!
Thank you for choosing IGN LUT PACK.
I hope this pack becomes a valuable tool in your workflow, helps you spend less time on editing, and gives you more time to focus on creativity.

How to Install Presets in Lightroom, Photoshop, Lightroom Mobile & Camera Raw
